How To Repair Brick Mortar - A Step-by-Step Guide

Brick makes for one of the most beautiful building exteriors available. The fact that it’s relatively durable and easy to maintain is yet another bonus - generally speaking, you don’t have to renovate brickwork as often as wood or cut stone. Still, every now and then, you’ll need to bust out the supplies for some fixes.
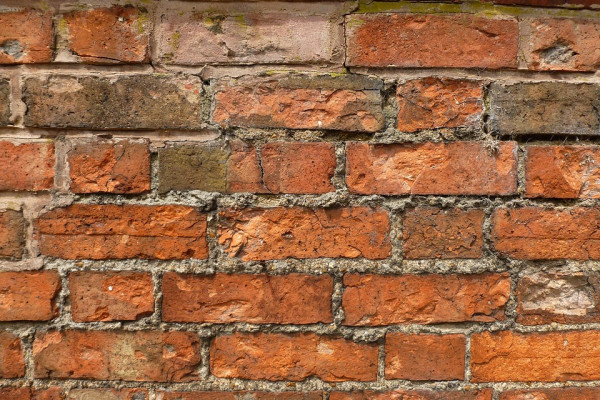
Most frequently, it’s the mortar holding brickwork together that gets worn out. Over time, it eventually starts to crack, recede, and spill from the joints between bricks. Left alone, it will eventually break altogether, causing the wall to collapse.
To prevent that from happening, you’ll want to bring out the trowel and chisel, and repoint. We’ll walk you through the process.
Step One: Get Your Materials Together
First, let’s go over what you’ll need:
- A hammer
- A flat utility chisel
- Safety glasses and a dust mask
- A whisk broom
- A brick trowel
- A pointing trowel
- Mortar mix
- A contouring tool
- A wheel rake or jointer tool
- (Optional) A 4 and a half inch diamond bladed angle grinder
- Waterproof gloves
Step Two: Chip Out The Old Mortar
First, put on your mask and glasses. Using either your hammer and cold chisel or your utility chisel, remove about an inch of the old mortar. Depending on how deep the damaged mortar goes, you may have to keep chipping until you reach a solid base. Worst case scenario, you might have to remove the bricks and re-set them with new mortar. If you’re dealing with cracked mortar, you may need to make a relief cut with either your chisel or an angle grinder, following up by chipping out the mortar still attached to the bricks on either side. Brush out any loose particles that remain with your whisk broom before moving to the next step.
Step Three: Mix Your Mortar
Dump your mortar mix into a sizeable-enough container, then mix until it’s roughly the consistency of peanut butter. Allow it to ‘rest’ for ten minutes, then mix it again before you use it. Note that you should only mix small batches - mortar only tends to last for about thirty minutes or so before starting to dry out, and you can’t revitalize dried mortar just by adding water to it.
Step Four: Fill The Mortar Joints
Load a bit of mortar onto an overturned brick trowel, then use the trowel to push the mortar in between the bricks. Fill the horizontal segments first, before filling the verticals. Be careful that you don’t use too much mortar, or you might get it on the brick face - but make sure the mortar is also packed tightly. Additionally, deeper joints should be filled in two stages. After the first stage - and if you notice any irregularities - you can use a wheel rake or jointer to add more mortar and even it out.
Step Five: Push The Mortar In
With a pointing tool such as your pointer trowel, push the mortar in between the bricks. Once you’ve done this, scrape away any excess mortar on the bricks with your mortar brush.
Step Six: One Last Look
Once you’re finished, take a step back and make sure you haven’t missed anything. That’s it, you’re done!
