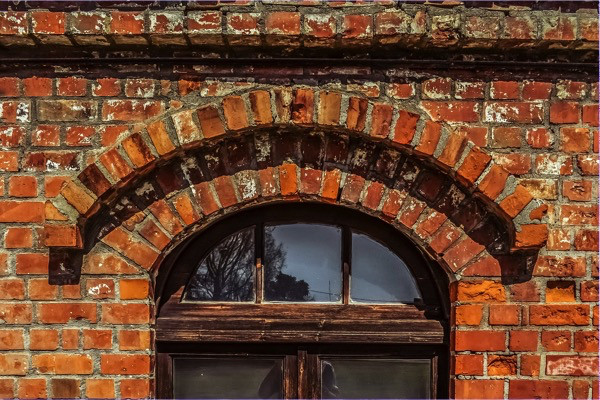
The Trick To Tuckpointing Windows

When it comes to repairing brick mortar on one of your properties, one of the most frequent problem areas is around window frames. There are a few reasons why tuckpointing windows is more difficult than tuckpointing walls. Firstly, the difference in temperature and moisture around the window frame is likely to be far more pronounced than it would be elsewhere - you’ve got heat drifting outside during winter, and air conditioning during the summer. Secondly, insufficient propping during window replacement can cause damage to brickwork. Poorly-installed windows can cause just as much harm. Inadequate window bearings, too much weight, or a lack of proper supports can cause issues in your mortar joints. Finally, improper cleaning of mortar droppings around window sills can be an issue during the tuckpointing process. Last but certainly not least is one of the most frequent mistakes made by tuckpointing novices. Mortar won't bond properly to wood or paint; even with a properly-installed frame. Mortar only bonds well with stone and brickwork. To fit everything together correctly, you need to apply caulking between brick and window casings. Exclude the caulking, and you’ll be left with weak, failure-prone joints around your window. You’ll likely also end up with a gap that will cause water infiltration (and eventual cracking). Fortunately, applying caulk isn’t terribly difficult:
- First, identify how many windows need caulking - this will help you preemptively determine the supplies you’ll have to purchase.
- Figure out what kind of caulk you need. In this case, your best option is polyurethane caulk. It can adhere readily to wood, metal, and stone alike. You’ll also want to purchase some paint since polyurethane caulk can break down in sunlight.
- Purchase a caulking gun. You can find one at any local hardware store.
- If there’s any old caulk or mortar rubble around the window frame, remove it before beginning your job.
- Repair any structural damage to the frame.
- After placing your caulking tube into the gun, cut the tip of it at about a 45-degree angle. Use a nail or something to that effect to break the inner seal.
- Press the tip of your caulk gun firmly against a corner of the window, and then caulk in a straight line to another corner. Repeat this three more times.
- Remove excess caulk, and allow the caulk you’ve applied to dry for twenty-four hours or more.
Of course, if you’d prefer not to handle it on your own, Bald Eagle Construction’s got you covered. We’re one of the best tuckpointing contractors in the Chicago area, with years of experience on tuckpointing projects of all sizes. Give us a shout for a free consultation, and we’ll get your walls looking good as new!
